
Preassembly
Glue collar into base. Set aside to dry.

NEO board assembly
Three components need to be soldered to the neo board assembly. Use the following drawing to solder these on.
| Designator | Part |
| R1 | 100 ohm |
| C1 | 0.1 uF |
| IC1 | Neo chip |
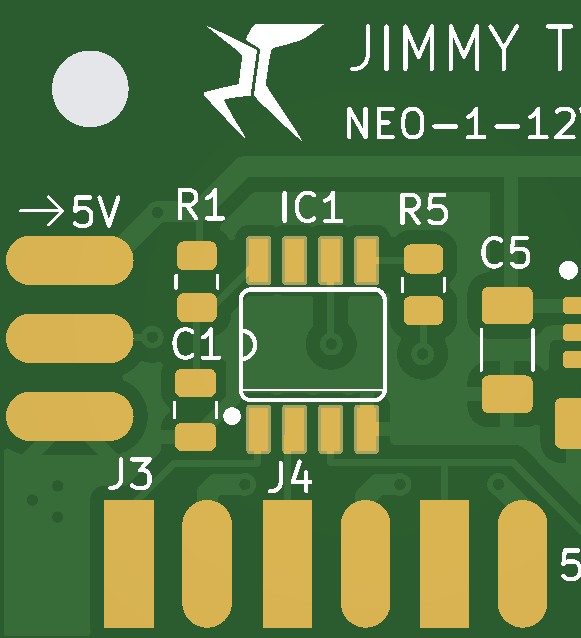
Front side connections
The front side of the raspberry pi pico.

Switches
Solder two switches to the raspberry pi pico as shown
| Function | Connect to |
| Bottom switch | GND and GPIO11 |
| Top switch | GND and GPIO20 |
Connections
Cut female servo harnesses to x” lengths.
Cut black, green and orange wire to xxx length.
Solder to the animator using the following table.
| Connect to pico | Cable Color |
| GND, pin 3 | BRN or BLK |
| GPIO2, pin 4 | YEL or WHT |
| 5V, pin 39 | RED and ORG wire twisted together |
| Connect to neo-1-12V | Cable Color |
| 5V, pin 1 | ORG |
| Signal pin 2 | GRN |
| GND pin 3 | BLK |
Actuator assembly
Apply some glue inside flag receptacle.
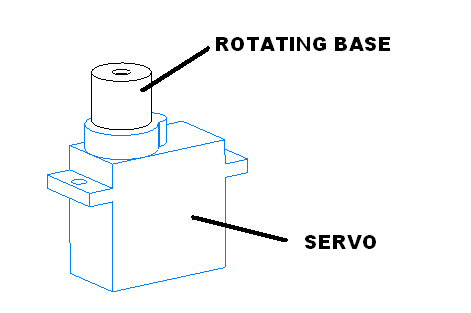
Mount to the servo mount with the screws provided.
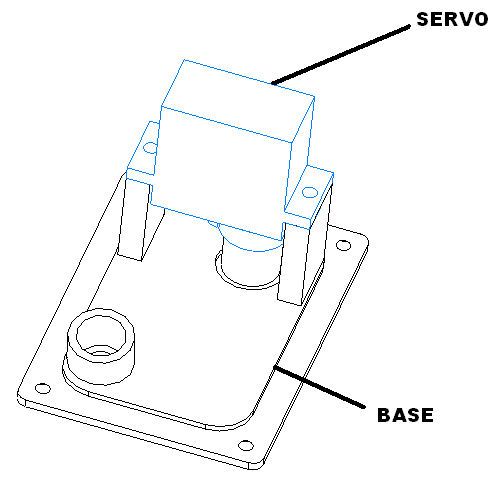
Controller assembly
Insert the buttons in the controller cover as shown. Tape them in place on the outside.
Place the board into the controller base. Route the wires to be out of the way of the buttons.
Snap cover on.
Spot light
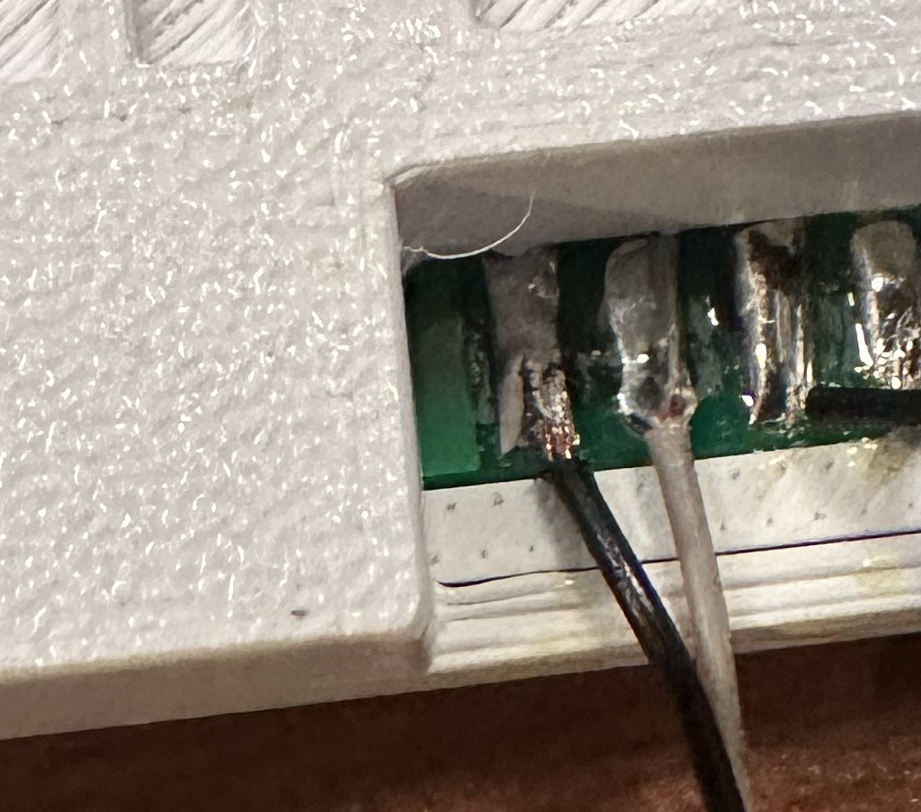
Solder spot light to first LED connection using the following table.
| Connect to neo-1-12V | Cable Color |
| GND, pin 1 | BLK |
| 5V | GRY |
Test
Plug in the servo into the controller.
Hold the pico program button down and plug in the microUSB computer cable. The unit will load in boot loader mode. Copy the circuit python UTF file over to the pico.
Once the pico boots as a circuit python drive copy the code onto the unit.
Insert the flag that is shipping with the product.
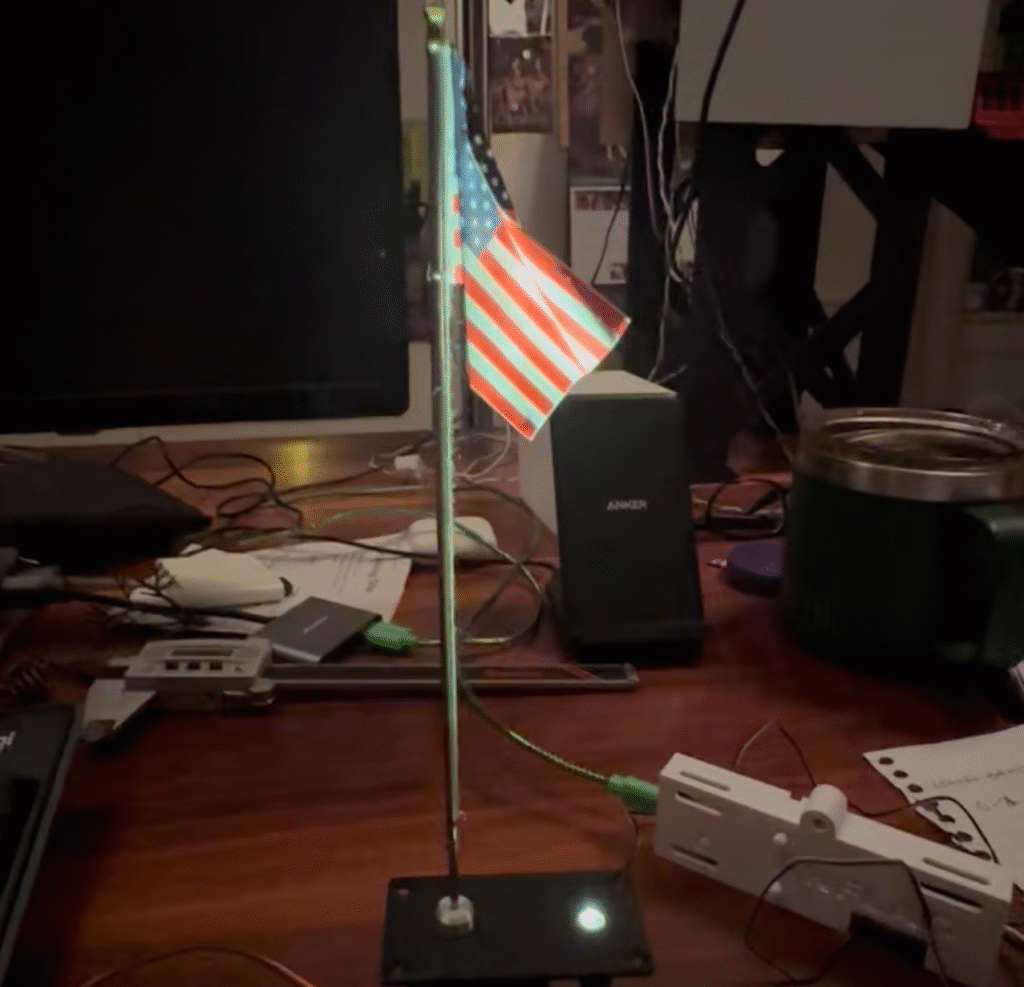
The unit will boot and the platform should rotate.
Unplug the unit and plug in the power supply that ship with it. Confirm that the platform rotates and does a single cycle.
Press the “top” button confirm that the “casting” animation occurs.
Press the “bottom” button confirm that it goes into “program mode”
Unplug everything the unit is ready to pack.
Packaging
Put servo mechanism in a bag. Heat seal.
Put controller in bag. Heat seal.
Fold up box, place cut up flag package on bottom, set power supply on right and place controller, servo on top
Print label and cut and apply instructions on the inside of the lid. Apply product label on the outside of the box.