
Product dimensions
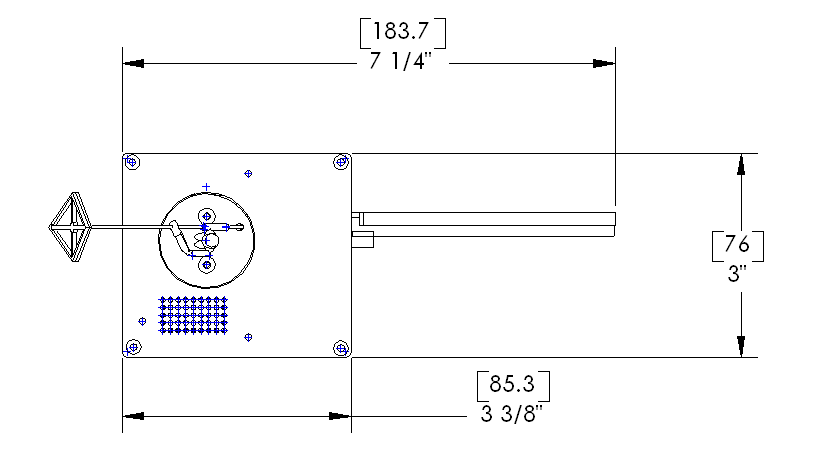
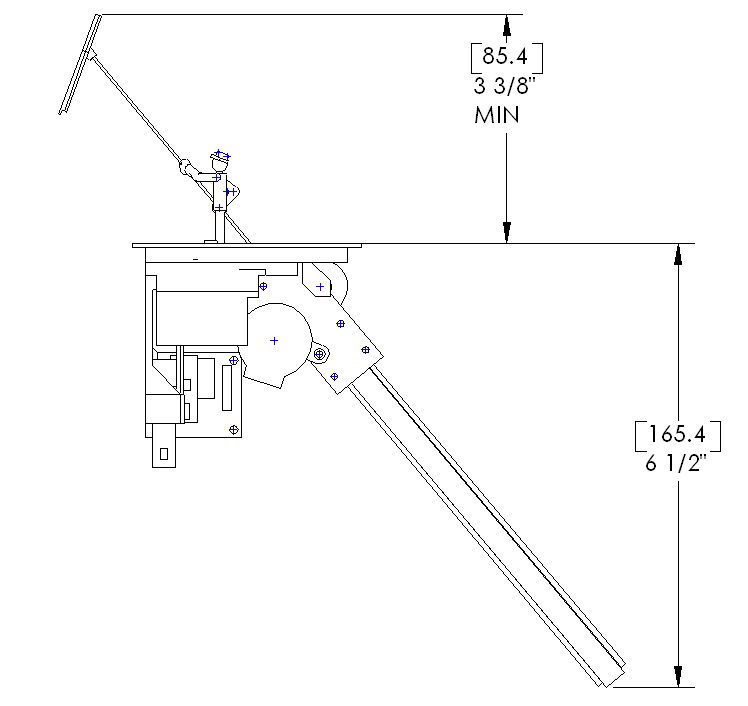
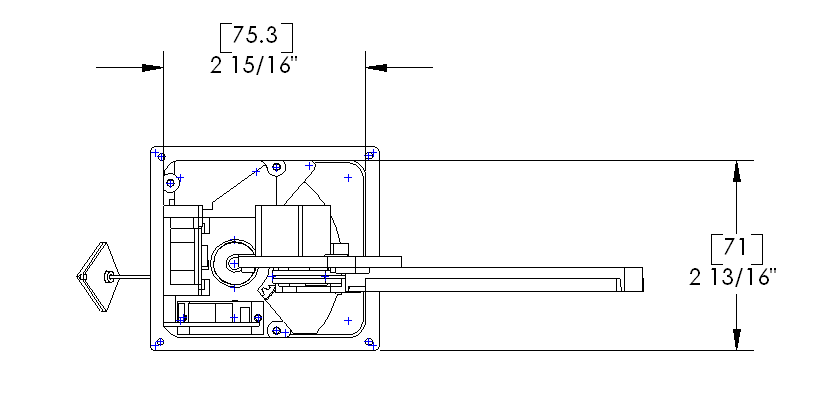
Unpacking items
Your boy with kite was shipped fully assembled. Carefully remove it from its packaging by carefully remove the blue tap holding it in place. The kite boy is delicate to bending be careful not to bend it.
You should have the following parts.
- Boy with kite assembly.
- Bubble wrapped kites.
- Kite music wire
Install the kite rod by carefully inserting through the figures hands and then into the hole in the ground. Eventually you will feel a little resistance from the rubber pinch rollers then stop.
Place the kite on the end of the rod. The kite is free to rotate.
Power it up!
The boy with kite accessory has its own internal power supply and is powered using your train transformer. It can take 12 to 18 volts AC or DC. Typical train transformer accessory terminal can be used. It is usually 14 volts AC. Attach the cables marked 12-18 VAC to your transformer.
Everything should now be connected. Turn your transformer on. The kite will initialize by pulling the rod into its home position. Be patient this takes about a minute and happens every power cycle. Once its complete you should hear “animations are active”.
Start the animation by pressing the left button. Stop the animation by pressing the button again.
The kite should raise and fall and go side to side in the wind.
Find a location for your boy with kite animation
The flag can be mounted in a hole roughly 2 5/16 x 2 13/16 inches. Using no 2 or no 4 screws. Or you can place it in your layout using a dab of silicon. Make sure it can be removed in the future so you can change the software or service it.
Volume is adjusted using the left and right buttons.
Operation
There are two buttons. The left button activates the animation. The right button activates the main menu.
After the animation is started you can interrupt it by pressing the left button.
Deactivate timer mode
To deactivate press and hold the left button until you hear “Time mode off”.
If timer mode is already off it will just run the animation.
Main menu
To select the main menu the timer mode must be inactive. Deactivate using the instructions “Deactivate timer mode”.
If you press the right button a message will play “main menu press left button to scroll through items press right button to select the item”.
Next pressing the left button will scroll through the different options. When you hear the option you want press the right button.
Further instructions will play for each menu option.
If the menu has an “Exit this menu” option, use that to get back to “animations are now active”.
Menu summary
- Options
- no wind
- wind
- random up down
- up and down
- timer off (i.e. pressing the left button activates the animation)
- timer 0 minute (i.e. continuous)
- timer 1 minute
- timer 2 minutes
- timer 5 minutes
- timer 10 minutes
- exit this menu
- Volume settings
- Volume level adjustment
- Lower volume
- Raise volume
- Hold the right button to commit changes
- Volume pot off
- Volume pot on
- Volume level adjustment
- Exit this menu
Choose options menu
This option is the most commonly selected menu option.
Press the right button to get into the main menu.
Then press the left button. When you hear “Options” press the right mouse button to confirm. You will then hear another menu announcement “Options menu…”
Press the left button to scroll through weather you want wind or no wind, kite raise lower options and timer options.
Once you have found the option you want press the right button and it will confirm with “option set”. Scroll through the rest of the options and set them as desired.
To commit all the changes scroll to the “exit this menu” option and press the right button. You will here “all changes complete, animations are now active”. If you forget to do this you will have to repeat selection options again.